Optimized Blog: How to Calibrate a DJI Gimbal Correctly: Complete Step-by-Step Guide (2026 Update)
Introduction
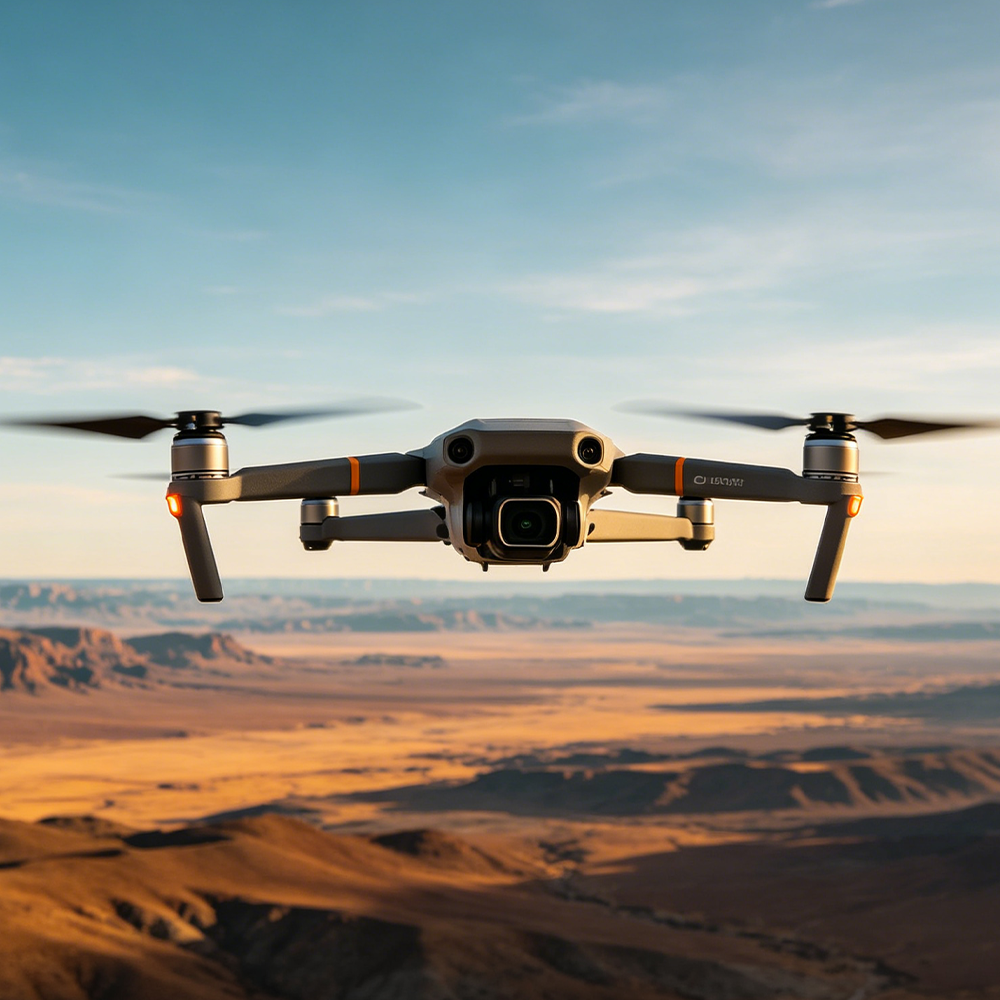
Nothing ruins a crisp, cinematic aerial shot faster than a lopsided horizon, jittery footage, or unexpected gimbal drift. For DJI drone pilots, regular gimbal calibration is the simplest, most effective way to keep your camera stabilization system performing at its best and eliminate common footage flaws without costly repairs.
If your DJI drone’s camera appears tilted at hover, shakes during flight, drifts off-angle, or triggers gimbal-related error codes in the DJI Fly or DJI GO 4 app, a full calibration will often resolve the issue entirely.
This updated 2026 guide covers everything you need to know: clear signs calibration is required, step-by-step instructions for all major DJI drone models, troubleshooting for failed calibrations, and long-term maintenance tips to extend the life of your gimbal system.
What Is DJI Gimbal Calibration?
DJI gimbal calibration is the automated process of resetting and fine-tuning your drone’s 3-axis camera stabilization system. During calibration, the drone’s flight controller recalibrates the gimbal motors, position sensors, and gyroscopes to align the camera perfectly level with the aircraft’s IMU (Inertial Measurement Unit), ensuring stable, horizon-level footage during flight and maneuvering.
Regular DJI camera calibration delivers measurable performance benefits:
- Eliminates tilted or crooked horizon lines in photos and video
- Improves 3-axis stabilization for smoother, jitter-free footage
- Reduces unnecessary motor strain and vibration that wear out components
- Resolves common gimbal error codes and initialization failures
- Extends the overall lifespan of gimbal motors and internal components
Calibration is a core part of routine DJI drone maintenance, and should be performed whenever you notice stabilization issues or after any hardware service.
Clear Signs Your DJI Gimbal Needs Calibration
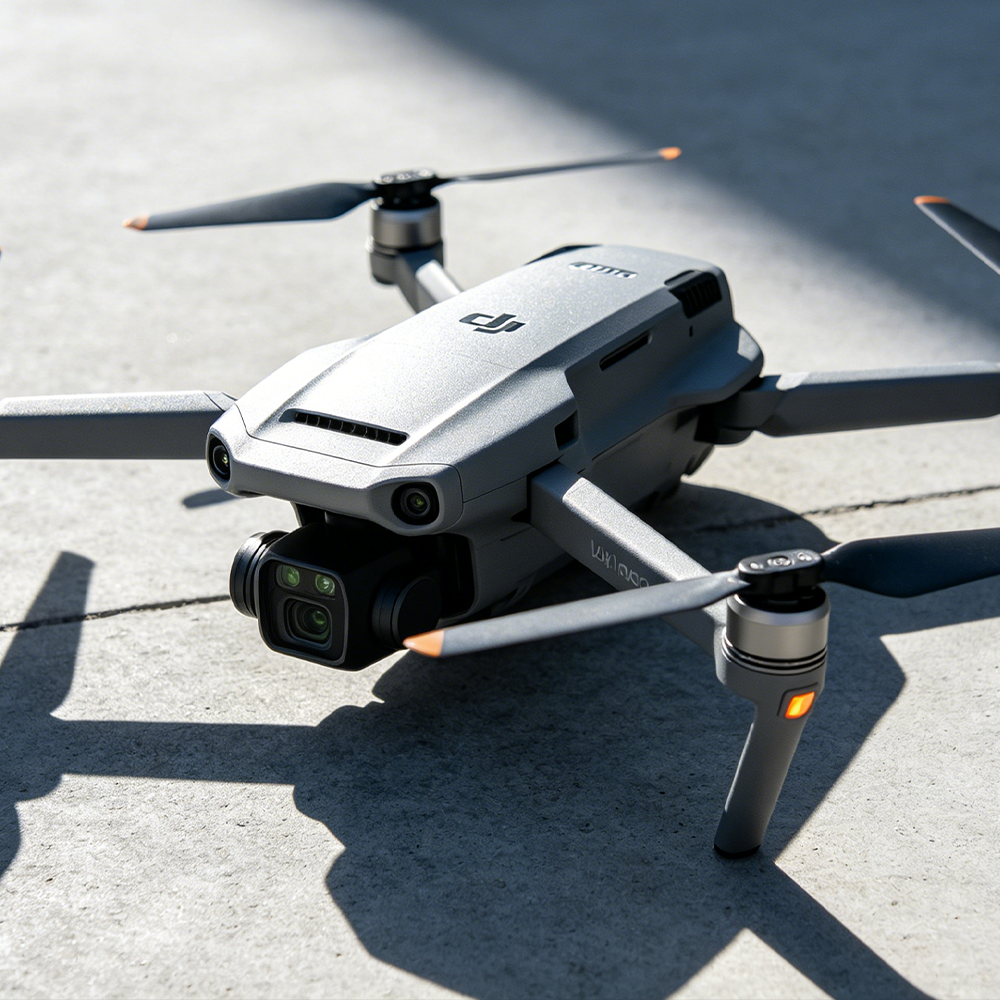
You should perform a full gimbal calibration if you encounter any of the following issues:
1. Crooked or Tilted Horizon
The camera frame appears visibly tilted even when the drone is hovering perfectly still in calm, wind-free conditions with no pilot input.
2. Gimbal Shaking, Jitter, or Vibration
Recorded footage contains high-frequency oscillation, "jello effect", or unwanted shaking that cannot be attributed to wind or aggressive flight maneuvers.
3. Slow Gimbal Drift
The camera slowly pans or tilts off its intended angle on its own, even when the drone is hovering and no control inputs are made.
4. Gimbal-Related Error Messages
The DJI Fly or DJI GO 4 app displays any of the following warnings:
- Gimbal Calibration Required
- Gimbal Motor Overload
- Gimbal Initialization Failed
- Gimbal Abnormal
- Gimbal Stuck
5. After Repairs, Crashes, or Part Replacement
Always calibrate the gimbal after replacing a gimbal motor, camera sensor, arm assembly, or ribbon cable, and immediately following any crash or hard landing.
6. After Long-Term Storage or Firmware Updates
Calibration is recommended after storing your drone for 30+ days, or immediately after updating the aircraft or gimbal firmware.
How to Calibrate a DJI Gimbal Correctly (Step-by-Step)
Note: This guide covers automatic gimbal calibration for all consumer and prosumer DJI drones, including the DJI Mini 2/3/4 Pro, Mavic 3/3 Classic/3 Pro, Air 2S/3, Phantom 4 series, and Spark. Always remove gimbal protectors, transport locks, and heavy third-party ND filters before starting calibration.
Pre-Calibration Checklist
Before starting the calibration process, confirm all of the following:
✅ Drone battery is charged to at least 50% (full charge recommended)
✅ All gimbal protectors, transport locks, and lens caps are fully removed
✅ The drone is placed on a perfectly flat, stable, vibration-free surface
✅ The aircraft is at room temperature (avoid calibrating immediately after a long flight)
✅ Aircraft and remote controller firmware are updated to the latest available version
✅ No foreign debris is stuck in the gimbal arms or around the motors
Calibration for DJI Fly App (Mini 2/3/4 Pro, Mavic 3 Series, Air 2S/3, Avata)
-
Power on your equipment
Turn on your remote controller first, then power on the aircraft. Launch the DJI Fly app and wait for the drone to connect fully and complete its startup self-check.
-
Navigate to gimbal calibration settings
From the camera view, tap the three-dot menu icon (⋮) in the top-right corner. Select
Control, then scroll down and tap
Gimbal Calibration.
-
Start automatic calibration
Tap
Auto Calibrate to begin the process. The gimbal will rotate through its full range of motion on all three axes as the system recalibrates.
-
Wait for completion
Calibration typically takes 30 seconds to 2 minutes.
Do not touch the drone, move the surface, or apply any force to the gimbal during this process.
-
Verify results
Once the app confirms calibration is complete, check the live camera feed to confirm the horizon is level. Test gimbal tilt and pan controls with the remote wheel, then perform a short hover test to confirm stability.
Calibration for DJI GO 4 App (Phantom 4 Series, Mavic Pro/Platinum, Spark, Inspire)
-
Power on your equipment
Turn on the remote controller, then the aircraft. Launch the DJI GO 4 app and wait for a full connection and startup self-check.
-
Navigate to gimbal settings
From the main camera view, tap the
General Settings icon, then select
Gimbal Settings.
-
Run auto calibration
Tap
Auto Calibration, then confirm the prompt to start. The gimbal will move through all three axes during the calibration sequence.
-
Complete and verify
Wait for the on-screen success message. Confirm the horizon is level in the live feed, then test gimbal controls before flight.
Advanced DJI Gimbal Calibration & Fine-Tuning Tips
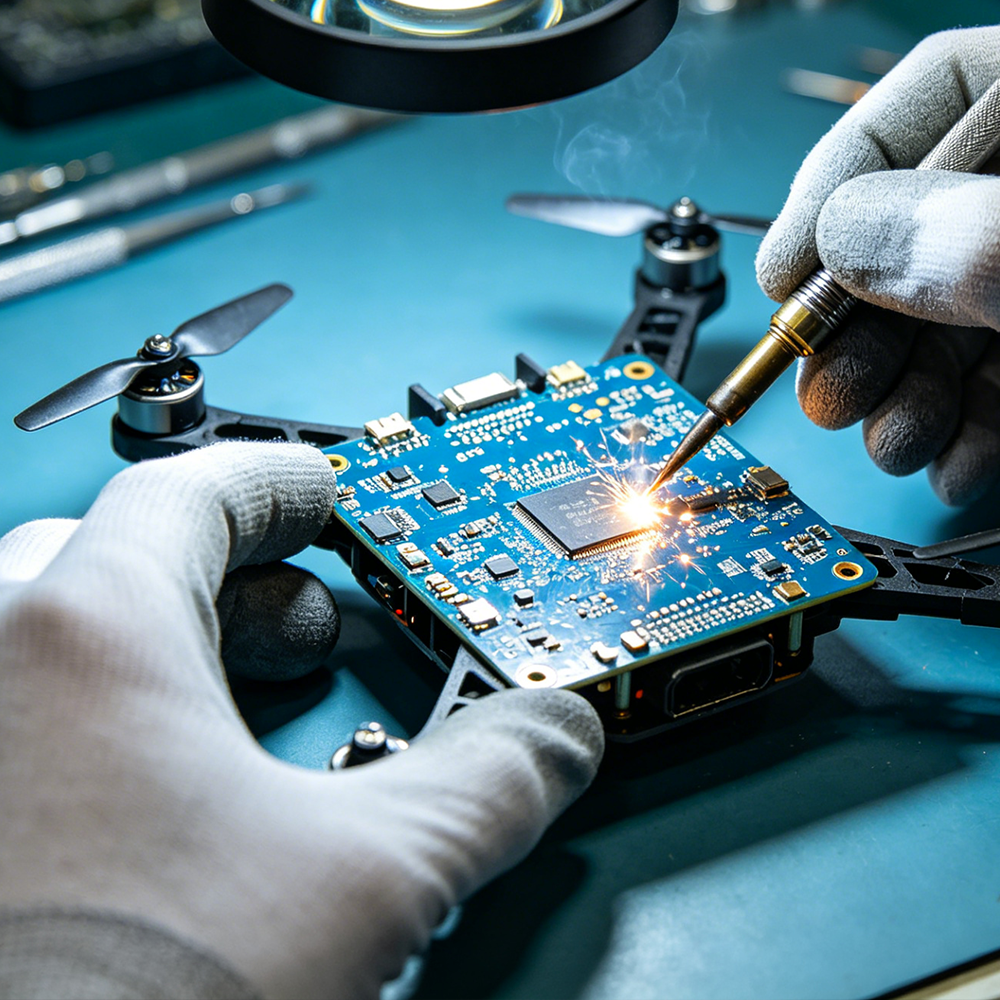
For persistent alignment issues or maximum accuracy, use these pro tips to improve calibration results.
1. Calibrate the IMU First
Many gimbal leveling issues are not caused by the gimbal itself, but by a misaligned IMU (Inertial Measurement Unit). The gimbal references the IMU to determine level, so an uncalibrated IMU will always result in a tilted camera, even after perfect gimbal calibration.
Always perform IMU calibration before gimbal calibration if:
- The drone has been in a crash or hard landing
- You recently updated aircraft firmware
- The horizon remains tilted after 2+ gimbal calibration attempts
- The drone is moved between extreme temperature environments
2. Use Horizon Fine-Tune for Minor Tilts
If automatic calibration leaves a very slight horizon tilt (1° or less), you do not need to run a full recalibration. All modern DJI drones include a manual Gimbal Horizon Fine-tune slider in the gimbal settings menu to make micro-adjustments without a full calibration cycle.
3. Calibrate in a Cool, Stable Environment
Gimbal gyro sensors deliver the most accurate results when the aircraft is at room temperature. Avoid calibrating immediately after long flights (when internal components are warm) or in direct sunlight that can cause uneven heating of the sensor array.
4. Confirm a Perfectly Level Surface
Even a 1° tilt in the surface under your drone can skew calibration results. For maximum accuracy, use a small spirit level to confirm your calibration surface is flat, or use a purpose-built drone calibration platform. A solid wooden desk or level concrete slab works well for most users.
Common DJI Gimbal Calibration Problems & Troubleshooting
If calibration fails repeatedly or issues persist after calibration, use this guide to identify and resolve the root cause.
Calibration Fails Repeatedly
- Outdated or corrupted aircraft firmware
- Foreign debris obstructing gimbal arm movement
- Loose or damaged gimbal ribbon cable
- Physically damaged gimbal motor or bent arm
- Severe IMU misalignment
- Update both aircraft and remote controller firmware to the latest version
- Power cycle the aircraft and remote controller, then retry calibration
- Carefully inspect the gimbal arms and motor gaps for dust, sand, or debris
- Check that the gimbal ribbon cable is fully seated and not frayed or damaged
- Perform a full IMU calibration, then retry gimbal calibration
Horizon Still Tilted After Calibration
- Misaligned IMU (most common cause)
- Mechanical misalignment of the gimbal mounting plate
- Loose gimbal mounting screws
- Uneven calibration surface
- Perform a full IMU calibration, then run gimbal calibration again
- Use the built-in Gimbal Horizon Fine-tune slider to correct minor tilts
- Inspect the gimbal mounting plate and tighten any loose screws
- Confirm your calibration surface is perfectly flat and retry
Gimbal Motor Overload Error
- Physical obstruction blocking gimbal movement
- Heavy third-party lens filters exceeding the gimbal weight limit
- Bent gimbal arm or damaged motor bearing
- Debris buildup inside the motor assembly
- Remove any lens filters and retry to rule out weight-related overload
- Inspect the full range of gimbal motion for obstructions or debris
- Check for bent gimbal arms or visible damage to motor housings
- Clean gimbal motor gaps with low-pressure compressed air to remove dust
DJI Drone Maintenance Best Practices
Routine maintenance reduces calibration issues, extends component life, and prevents costly repairs. Follow this scheduled maintenance plan for optimal performance.
Before Every Flight
- Confirm gimbal moves freely with no obstructions
- Inspect the camera lens and gimbal arms for dust or debris
- Verify no error messages appear during startup self-check
- Remove all transport locks and lens caps before takeoff
Every Month (30 Days of Regular Use)
- Perform a full gimbal calibration
- Check for and install available firmware updates
- Inspect gimbal ribbon cables and connectors for wear
- Clean gimbal motor gaps with low-pressure compressed air
After Any Crash or Hard Landing
- Inspect all gimbal arms, motors, and mounting points for physical damage
- Check vibration dampers for cracks or deformation
- Perform full IMU and gimbal calibration before your next flight
- Test gimbal movement thoroughly at hover before flying at distance
Long-Term Storage Tips
- Install the gimbal transport lock to protect motors during storage
- Store the drone in a cool, dry environment with stable temperatures
- Power on and calibrate the gimbal before first flight after extended storage
When Calibration Is Not Enough: Hardware Replacement
If you have completed all troubleshooting steps and calibration still fails to resolve shaking, drift, or leveling issues, the problem is likely physical hardware damage. In these cases, component replacement is required to restore full performance.
Common DJI gimbal replacement parts include:
Always use OEM-quality or certified replacement DJI drone parts to ensure proper compatibility, accurate calibration, and long-term reliable performance. Poor-quality third-party parts often cause repeated calibration failures and premature motor wear.
Conclusion
DJI gimbal calibration is a simple but critical maintenance procedure that keeps your aerial footage smooth, your camera aligned, and your gimbal components running reliably for years. Whether you’re a professional aerial cinematographer, drone repair technician, or hobbyist pilot, regular calibration should be a standard part of your DJI drone maintenance routine.
Most common gimbal issues can be resolved with a quick automatic calibration and basic troubleshooting. If persistent shaking, drift, or leveling issues remain after multiple calibration attempts and software fixes, inspect your drone for damaged gimbal components and replace faulty parts promptly to restore optimal performance.
For more drone maintenance guides, repair tutorials, and OEM-quality DJI drone parts, explore our full resource library and product catalog.


